
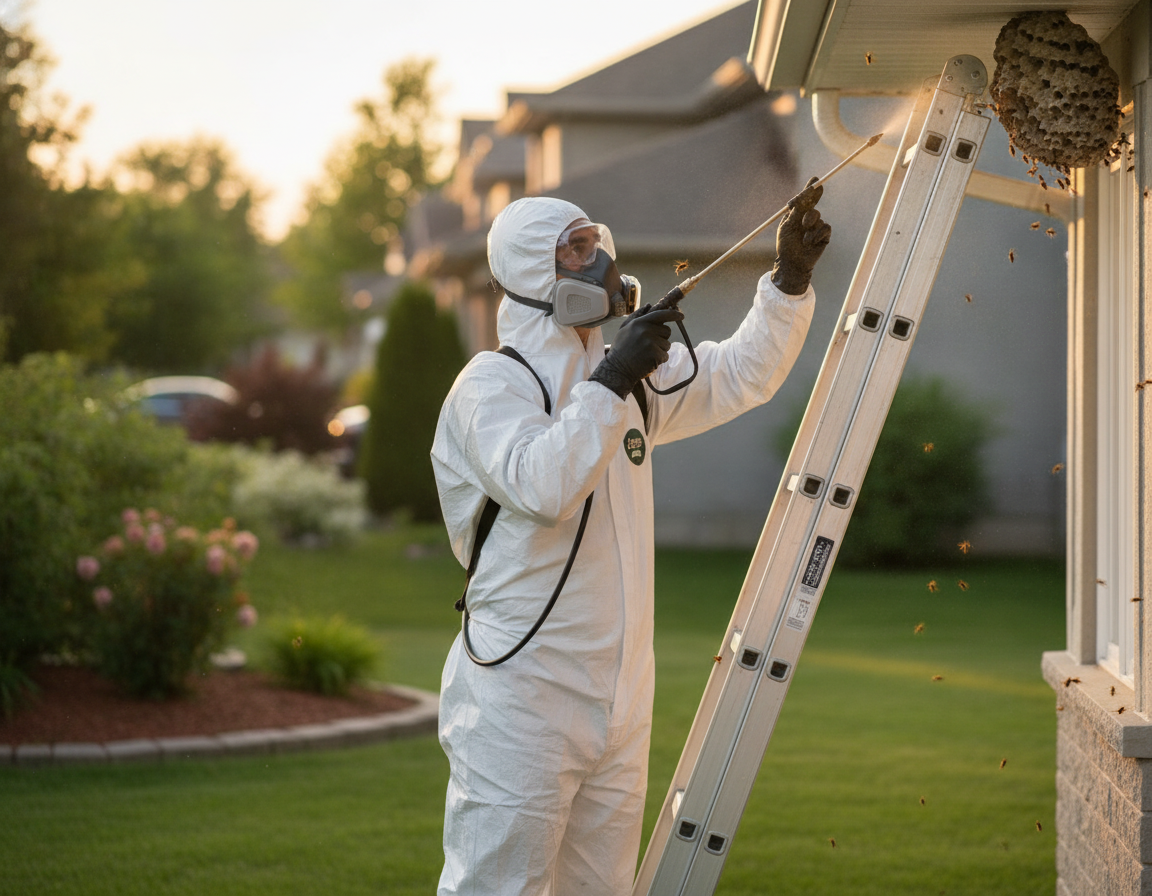
Wasp nest removal process is the professional sequence technicians follow to identify a nest, treat it during low activity, remove it safely, and block re-entry points so the colony doesn’t rebuild. For Oshawa homes, Bugman Plus times service around evening calm, uses pro-only products, and documents follow-up to keep your family safe.
Quick answer: The wasp nest removal process includes species ID, a timed treatment at dusk or dawn, physical removal once activity stops, and sealing gaps to deter new nests. Our Oshawa team at Bugman Plus executes this method and backs interior programs with a clear warranty.By Joe Barrett, Founder – Bugman Plus • Last updated: July 13, 2026
- At a Glance
- What the process involves
- Prerequisites and safety checks
- Step-by-step professional removal
- Troubleshooting
- DIY vs. professional
- Local season and behavior
- FAQs
Oshawa field note
We plan evening routes around traffic near Whitby Mall so dusk appointments actually land at dusk. If you hear that steady hum in a soffit or see a gray “paper bag” under a deck rail, keep pets inside and call us before dark for safe timing advice.
At a Glance: The Process and Your Role
What you’ll see on site
We talk you through safety, set a ladder with a clear retreat path, and stage PPE. You’ll notice short observation periods, then quiet, precise work. No rushing, no sweeping sprays—measured, targeted application keeps everyone safer and preserves your siding and soffits.
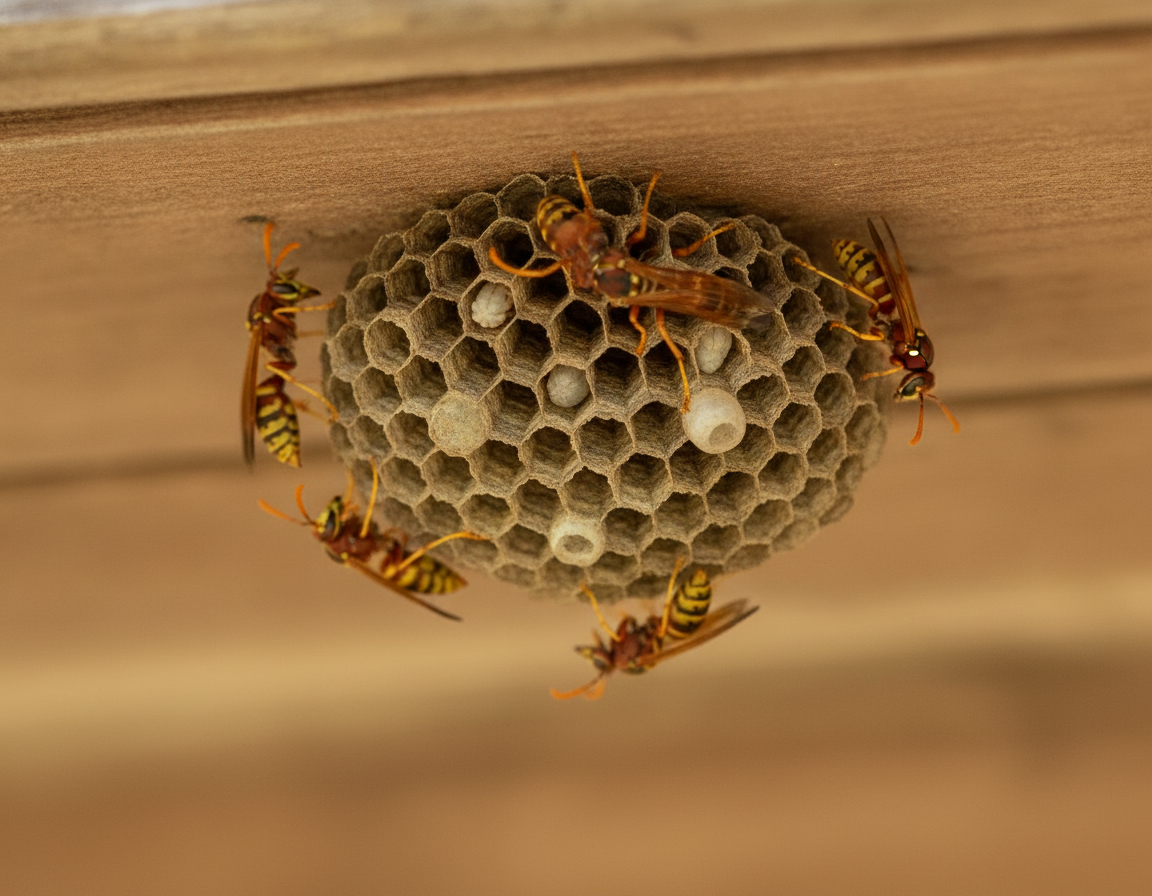
- Open-comb nests (paper wasps): Usually golf-ball to dinner-plate size under eaves or rails.
- Enclosed paper nests (bald-faced hornets): Gray, football-shaped on trees or roof peaks.
- Cavity nests (yellowjackets): Behind siding, in voids, or in ground holes with high traffic.
For Oshawa’s mix of 1970s–1990s homes, we routinely find entry at aluminum/wood soffit seams, vinyl siding laps, and deck joist pockets.
Before You Do Anything — Prerequisites and Safety Checks
Confirm species and access, protect people and pets, gear up, and schedule work during cool, low-light hours. Stop immediately if the nest is high, hidden in a wall, or close to utilities—those are professional-only scenarios.
Safety steps that prevent stings and falls
- Identify from a distance: Shape and location tell the story; never tap or poke the nest.
- Access reality check: Anything above a single story or over sloped ground requires trained ladder work.
- PPE basics: Closed clothing, gloves, eye protection, and a hood or veil.
- Clear the zone: Keep kids, neighbors, and pets indoors; close windows near the work area.
- Timing matters: Dusk/dawn reduces flight. As MSU Extension notes, colonies are calmest at night.
Prep that speeds up a professional visit
- Note entry points: Watch from a safe distance for a minute to see where wasps land.
- Move obstacles: Shift grills, planters, and furniture so we can place ladders safely.
- Reduce attractants: Seal outdoor trash and remove sweet feeders near the site.
- Share context: If you’ve sprayed foam or blocked vents, tell us—trapped colonies behave unpredictably.
If activity seems to come from inside a wall or attic, pause and contact our team. We treat voids differently than exposed combs.
Step-by-Step: How Professionals Remove a Wasp Nest
We inspect, stage safety, deliver a targeted dusk/dawn treatment, verify inactivity, remove and bag the nest, then clean and seal entry points. Clear notes and a follow-up check make sure the colony doesn’t return.
- Inspect and confirm species: Open comb vs. enclosed paper vs. cavity activity determines tools and timing.
- Stage safety and tools: Secure ladders, PPE, drop cloths, and a retreat route; brief the household.
- Apply targeted treatment: Use fast knockdown aerosols on exposed combs; use dusts for soffits and wall voids so product carries into the cavity; choose residuals only where they won’t contact people or pets.
- Re-check activity: Observe for quiet; retreat tight spots if scouts remain.
- Detach and bag: Remove the nest with minimal disturbance; double-bag for disposal.
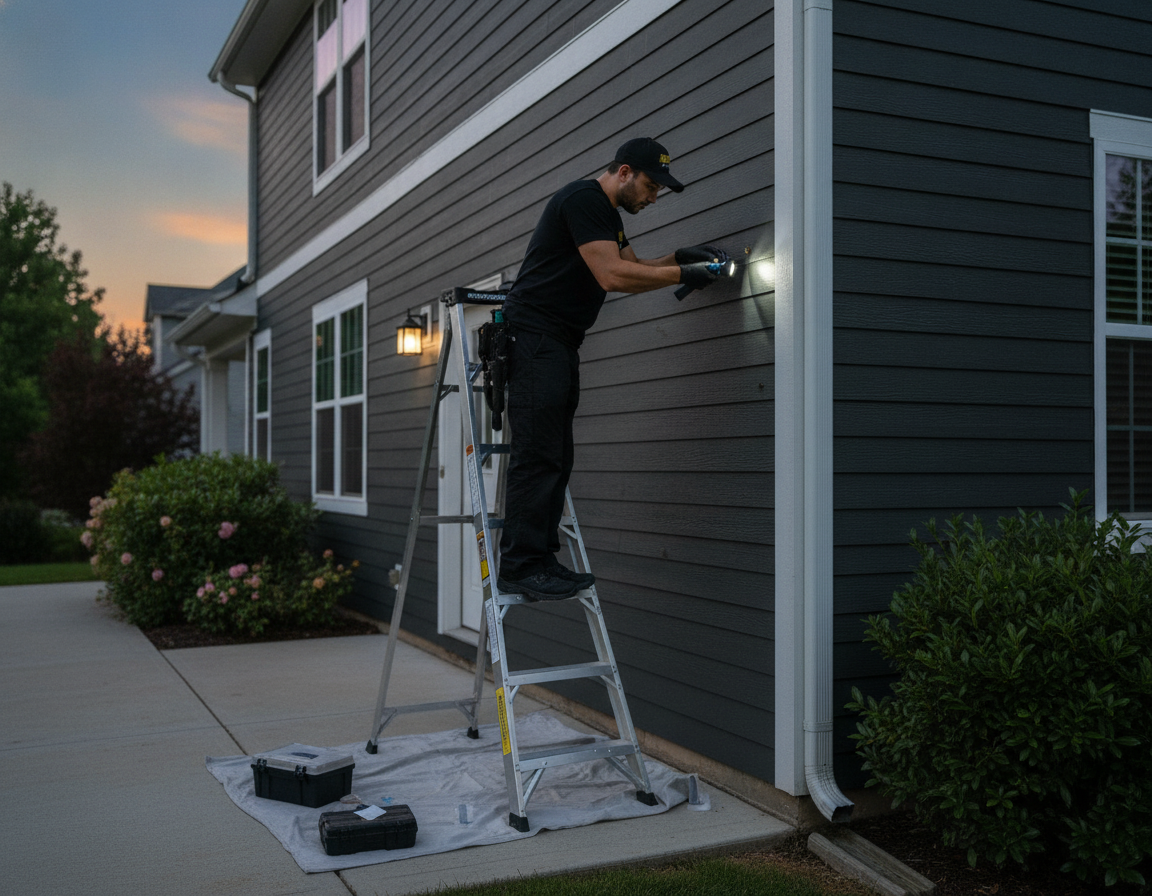
- Clean and seal: Wipe residues and seal gaps at soffits, vents, and siding laps with appropriate sealant.
- Document and advise: We record locations and products and leave simple aftercare steps.
- Schedule follow-up: A quick recheck confirms no rebuilding at nearby gaps.
Want this handled start to finish? Book through Get a Quote or review our Spider/Wasp Control service. We coordinate with our Bed Bug, Cockroach, Ant, and Rodent teams if we spot other risks.
Troubleshooting: When the Process Doesn’t Go as Expected
Persistent traffic means there’s a hidden cavity, a missed entry, or a surviving queen. Shift to void diagnostics, repeat targeted applications, and expand sealing. High or wall-void nests should pause for a licensed pro.
What commonly goes wrong (and how we fix it)
- Foam-in-soffit DIY: Expanding foam blocks the opening and drives wasps into attics and living spaces. We clear and dust the cavity, then re-open and seal correctly.
- High peaks and wind: Gusts scatter aerosol; we reschedule to calm periods and use dusts that carry inside.
- Secondary entry points: Two flight paths require treatment and sealing at both locations plus nearby cracks.
- Queen survived: Activity rebounds in 1–2 days. We return, treat deeper, and expand exclusion.
Aftercare signals to watch
- Occasional scouts: A few stragglers for a day is normal; sustained traffic is not—reach out.
- New gray paper: Fresh “papering” near an old site means a new start—early calls stop big colonies.
- Pet alerts: Dogs pawing at baseboards or fences often reveal hidden entry points.
DIY vs. Professional Removal — Honest Comparison
DIY is reasonable only for small, reachable paper wasp combs with proper PPE at dusk. Anything high, enclosed, or aggressive belongs to a pro. The goal isn’t heroics; it’s zero stings and no rebuild.
| Factor | DIY | Professional (Bugman Plus) |
|---|---|---|
| Safety at height | Real fall risk; no spotter or harness | PPE, ladder protocols, trained spotters |
| Species accuracy | Often guessed | Confirmed ID shapes product choice |
| Hidden nests | Hard to diagnose | Void treatments and sealing expertise |
| Re-nesting risk | High without sealing | Sealing + follow-up check |
| Guarantee | None | Warranty on interior programs; documented exterior follow-up |
Field example: a north Oshawa deck had an open paper nest “the size of a softball.” The owner sprayed at noon; workers swarmed, and the colony relocated into a stair stringer cavity. We treated at dusk with dust, removed the comb, and sealed joist gaps. No return activity on recheck.
Want an expert’s read before you act? Message us on the Contact page or start a scheduling hold via Get a Quote.
Local Tip: Wasp Season and Nest Behavior in Your Area
In Oshawa, activity ramps in late spring, peaks through late summer, and fades after the first frost. Early-season nests are smaller and simpler to resolve; fall scarcity can heighten aggression, so keep outdoor waste sealed.
Species and season guide treatment. Halton Wildlife profiles paper wasps, yellowjackets, and bald-faced hornets commonly seen across Ontario. MSU Extension notes late-summer colony peaks—exactly when dusk scheduling matters most.
- April–May: Queens scout eaves, fence posts, and deck rails; early removals prevent growth.
- June–August: Peak traffic at soffit seams and vinyl laps; plan for dusk windows.
- September–October: Food runs low; keep bins tight and fruit trees picked.
Local considerations for Oshawa
- Treed corridors near Prince of Wales Park can host multiple small open combs—check play structures weekly.
- Older aluminum/wood soffits and brick weep gaps are frequent entry points—flag any humming sound indoors.
- Townhome rows often share nesting sites along continuous fascia—coordination with neighbors speeds results.
FAQs About the Wasp Nest Removal Process
Quick answers on timing, safety, prep, and preventing re-nesting—based on how our Oshawa crews handle real calls every week.
How long does a professional removal take?
Most exterior nests are treated and removed in a single visit under an hour. High peaks or wall-void nests may need staged checks to confirm inactivity and complete sealing. We’ll schedule the follow-up so you’re not guessing.
Is it ever safe to remove a nest yourself?
Yes—if it’s a small, reachable paper wasp comb and you have PPE, choose dusk or dawn. Avoid roof peaks, enclosed voids, or aggressive species. If access or behavior worries you, pause and call a licensed pro.
What should I do before the technician arrives?
Keep people and pets indoors, clear ladder access, and note entry points. Share if you used foam or sprays—those change how we treat. Seal outdoor trash and move sweet feeders away from the area.
How do you prevent wasps from returning?
We remove the nest, clean residues, and seal soffit seams, vent edges, and siding laps. We also advise on attractants and schedule a quick recheck. Our 3‑month warranty applies to interior programs; ask us about exterior follow-up.
Key takeaways
- Evening timing and targeted products lower sting risk and improve results.
- Dusts work best for cavities; aerosols for exposed combs; sealants stop rebuilds.
- High, hidden, or aggressive nests are pro-only—safety first.
- Follow-up matters as much as the first visit.
About the author: Joe Barrett is the founder of Bugman Plus in Oshawa. Our team delivers Spider/Wasp Control, Bed Bug, Cockroach, Ant, and Rodent services with a simple promise: help you win the war on pests—safely and for good.
Learn about our approach on the About page, explore services, or request a visit. For general info, start at the Bugman Plus home page.
Ready to stop the swarming? Book a wasp inspection in Oshawa today through Get a Quote. We’ll time the visit for a safe, effective removal.


