
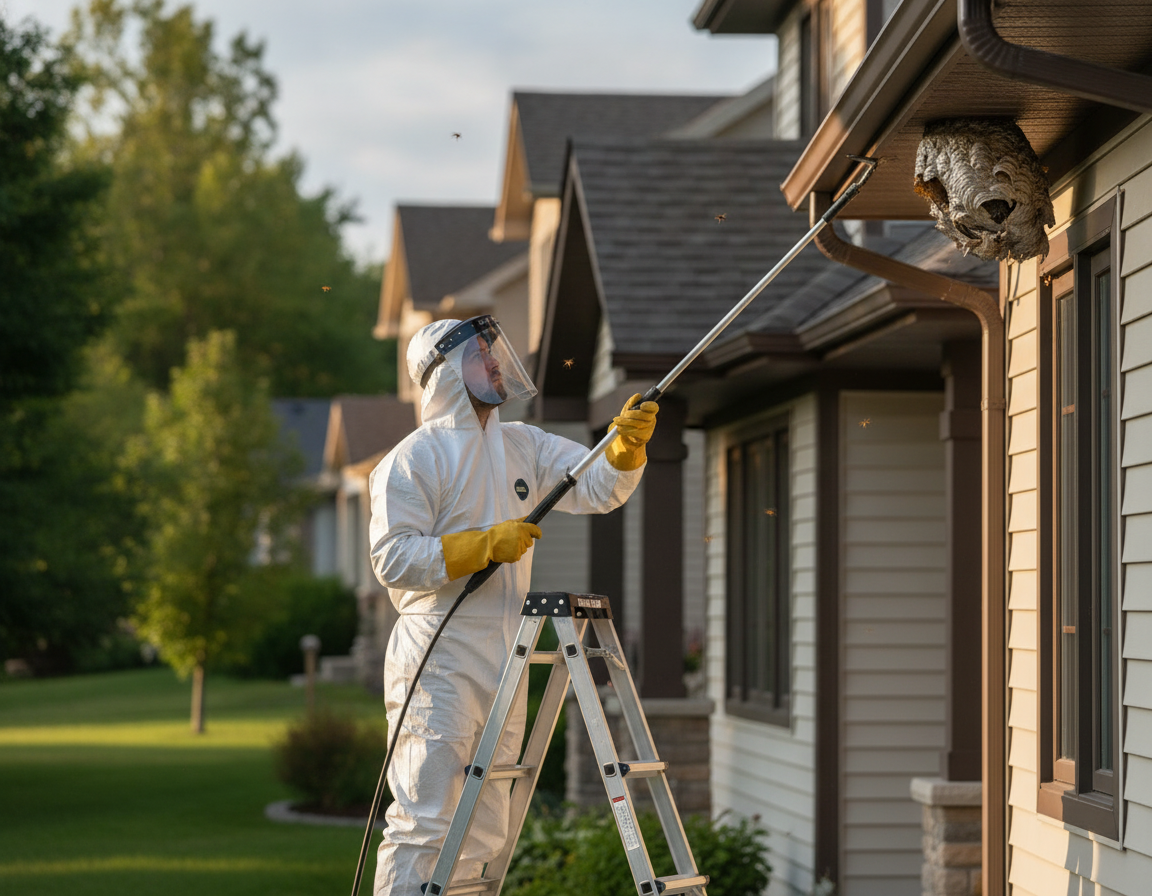
Wasp control mistakes to avoid include misidentifying the species, treating at the wrong time, sealing too soon, picking the wrong product, overlooking nearby colonies, and waiting until peak season. In Oshawa, those missteps often turn a small nest into a wall-void problem or summer-long stings around decks and doors.
Quick answer: The six wasp control mistakes to avoid are bad species ID, midday spraying, sealing live entry points, mismatching product to nest type, missing secondary nests, and delaying until late summer. Handle exposed combs at low light only; void or ground nests warrant a professional visit.By Joe Barrett, Founder — Bugman Plus • Last updated: July 10, 2026
- Summary: wasp control mistakes to avoid
- Mistake 1: Skipping species ID
- Mistake 2: Wrong time of day
- Mistake 3: Sealing too early
- Mistake 4: Wrong product for location
- Mistake 5: Ignoring secondary nests
- Mistake 6: Waiting too long
- When DIY has gone far enough
- FAQs
Wasp Control Mistakes to Avoid — Summary
Avoid six errors: skip guesswork on species, don’t spray at midday, never seal a live entry, match product to nest location, scan for nearby colonies, and act before late-summer population peaks. In practice, these steps prevent stings, wall-void infestations, and repeat nesting on Oshawa properties.
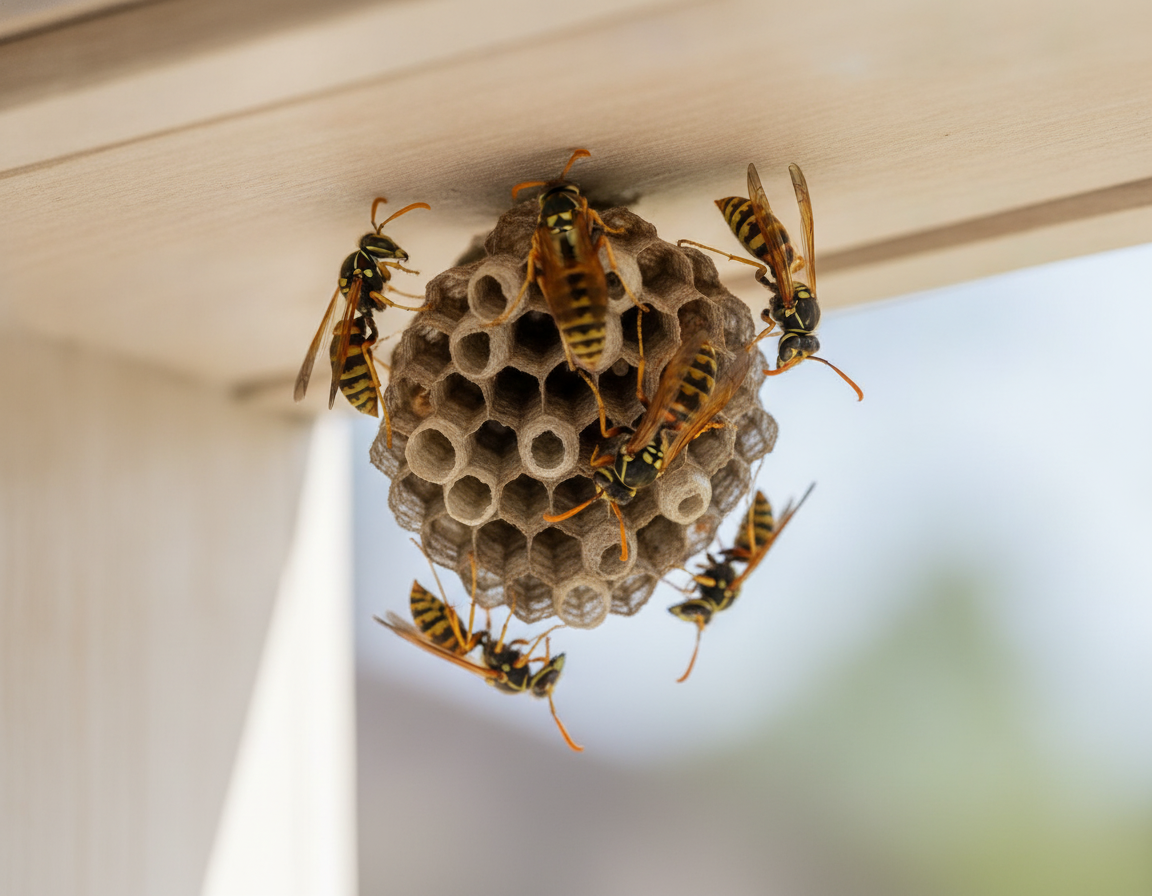
Species dictates everything. Paper wasps build open combs under eaves and are manageable at low light. Yellowjackets favor wall or ground voids and can push indoors if disturbed. Hornets form large aerial nests that require distance, PPE, and targeted application.
Scale matters too. By midsummer, a paper wasp comb may hold a few dozen to a couple hundred adults. Yellowjacket colonies can surge to well over a thousand workers by late August, which is why timing and product choice decide outcomes.
Local considerations for Oshawa
- Schedule treatments for dusk near busy corridors; activity settles after commuter hours around areas like Whitby Mall.
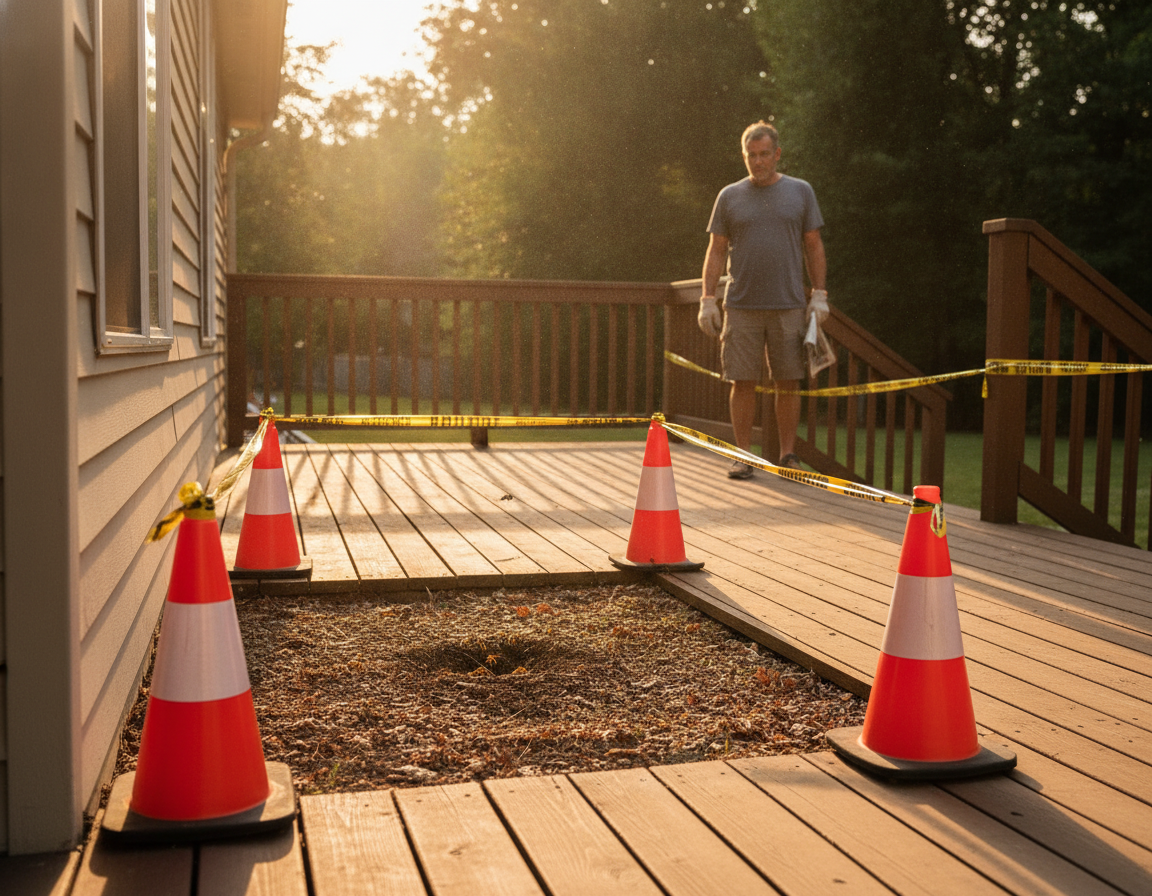
- Cordon ground nests along paths that lead toward Prince of Wales Park before dusk so returning workers don’t mix with foot traffic.
- Older soffits often hide multiple exits; plan a second check 48–72 hours after treatment to confirm zero traffic before sealing.
Mistake 1 — Treating Without Identifying the Species First
Identify first, act second. Paper wasps (open combs), yellowjackets (ground or wall voids), and hornets (large aerial nests) require different strategies, tools, and timing. Guessing scatters foragers, drives colonies deeper into structures, and sets up a harder, riskier second round.
What we look for on arrival: where flight paths terminate, whether the comb is exposed or enclosed, and how many foragers return at dusk. If workers disappear into a crack, assume a void nest and stop DIY.
Example from last August: one Oshawa home had an exposed paper wasp comb under the eave, a yellowjacket ground nest beneath the deck stairs, and a second yellowjacket colony inside the soffit. Three separate nests, three separate products, three separate angles of approach.
Practical step: observe from 10–15 feet for 60–90 seconds at low light. Record location and activity. If in doubt, send us clear photos through the quick quote form and we’ll confirm species before anyone gets stung.
Mistake 2 — Spraying at the Wrong Time of Day
Treat at dusk or dawn, not midday. Low light keeps more workers in the nest and reduces flight speed, so the product reaches the brood and queen. Midday blasts miss returning workers and spike sting risk at entries and outdoor living areas.
In our experience, dusk windows are safer near doors, decks, and yard paths. The combination of cooler air and higher in-nest counts means fewer chasers and better contact with brood chambers.
If you’re planning DIY on a small, exposed paper wasp comb, set a clear retreat path, keep ladders stable, and aim from upwind. For void or ground colonies, skip DIY and use our wasp control and nest removal instead; we purposefully schedule low-activity windows.
Mistake 3 — Sealing Entry Points Before the Nest Is Dead
Don’t seal a live nest. Blocking exits forces wasps to find new paths—often into soffits, bedrooms, or utility chases. Always verify zero traffic at dawn and dusk for 48–72 hours after treatment before you caulk, patch, or foam any gap.
We regularly see chewed drywall edges and sudden indoor activity after a well-meant “quick caulk” on a still-active soffit nest. It turns a manageable exterior job into an interior safety issue.
Our protocol: eliminate, verify, then exclude. We return to check the site, and only then do we seal the original entry and any satellite gaps. That sequence stops re-use without pushing survivors into living spaces. If you’ve already sealed and now see activity indoors, use the contact page and we’ll triage the safest next step.
Mistake 4 — Using the Wrong Product for the Nest Location
Match formulation to nest type: dusts for voids, expanding foams for cavities, and contact aerosols for exposed combs. Surface-only sprays on a wall or ground nest won’t reach brood chambers, leaving the queen and most workers alive.
For wall or soffit voids, void-rated dusts (e.g., silica-gel or deltamethrin dust) travel where aerosols can’t. In tight cavities, expansion foam carries active ingredient deeper. Exposed combs under eaves respond to direct-contact products applied from a safe distance with an extension pole.
On that three-nest Oshawa job, we used dust for the ground colony, foam for the soffit void, and a targeted contact application for the exposed paper wasp comb. Right tool, right place, one visit, then a verification check.
If you’re unsure what you’re looking at, pause and use Get a Quote. We’ll confirm the location type and line up the correct approach so you don’t drive the colony indoors.
Mistake 5 — Ignoring Secondary Nests Nearby
Scan the whole property. Food and shelter create clusters: an eave comb, a ground nest under the deck, and a second void in the soffit aren’t rare together. Treating one and missing another guarantees “new” wasps a few days later.
We map flight paths around sheds, retaining walls, deck stairs, and fence lines. Secondary nests hide where wood meets soil or where soffits vent. Before yard work, assume ground colonies may be present under steps and timbers.
If you’re replacing posts or digging near wood/soil edges, check for sustained flight paths first. Home projects like rebuilding fences or adding retaining walls often disturb hidden colonies; read this note on fence installation mistakes as a reminder to plan around wasps. For broader outdoor planning in town, local Oshawa landscaping services also flag summer nest hazards.
Mistake 6 — Waiting Too Long Into the Season
Act early. Colonies grow all summer and peak late. The longer you wait, the more workers you face, the further they forage, and the higher the sting risk. Early intervention also means less product and fewer follow-up steps.
By late July through September, yellowjacket worker numbers and aggression rise. That’s when a small problem at the eave becomes a multi-exit soffit situation, or a faint path in the lawn becomes a full ground colony next to the deck stairs.
Notice steady traffic for two straight days? That’s your cue. Book a prompt assessment so we can keep it simple—identify, eliminate, verify, then seal.
| Nest location | Pro approach | Mistake to avoid |
|---|---|---|
| Exposed eave/soffit (paper wasps) | Dusk treatment; directed contact from a safe distance; verify next day | Midday spray that misses returning workers |
| Wall/soffit void (yellowjackets) | Void-rated dust or foam via entry; monitor 48–72 hours | Sealing the hole immediately, pushing wasps indoors |
| Ground nest (yellowjackets) | Dust/foam at entrance at dusk; cordon area to protect people and pets | Disturbing soil during daytime yard projects |
Oshawa-local timing tip
Evening windows reduce foot traffic and stray foragers near busy shopping and park routes. We often stage eave treatments after commuter hours so returning workers are inside and neighbors aren’t walking under the work area.
Need eyes on a nest? Our wasp control and nest removal includes species confirmation, entry-point mapping, dusk scheduling, pro-grade delivery (dust/foam/contact), and a 48–72 hour follow-up check before exclusion. Interior treatments are backed by our service guarantee.
When DIY Has Gone Far Enough — What Bugman Plus Does Differently
Our method is identify → eliminate → verify → exclude. We treat during low-activity windows, match formulation to nest location, return within 48–72 hours to confirm zero traffic, and then seal so the entrance can’t be re-used. That’s how we prevent sting cycles and callbacks.
What you can expect on-site: a walkaround to trace flight paths, species ID, discussion of safe access (ladders, extension poles, PPE), and a clear plan for kids and pets during and after treatment. If a colony occupies a void, we use dust or foam through the entry rather than flooding surfaces that won’t reach the brood.
Our stance is simple and comes from hundreds of Oshawa summer service calls: the most dangerous DIY mistake is sealing a live void. If you see wasps disappearing into a crack, don’t patch it. Call us first and we’ll keep the problem from moving inside.
Safer DIY steps (for small, exposed paper wasp combs only)
- Observe at dusk/dawn for 60–90 seconds; confirm an exposed comb (not a void or ground hole).
- Mark a retreat path; keep kids and pets indoors; wear long sleeves, eye protection, and gloves.
- Approach from upwind with an extension tool to keep distance from the comb.
- Apply a directed contact product to the comb at low light; avoid ladders you can’t stabilize.
- Leave the area for the night; don’t knock the comb immediately.
- Recheck at dusk/dawn for 2–3 days; zero traffic indicates elimination.
- Only then remove the comb and seal sheltered mounting spots to deter rebuilds.
FAQs About Wasp Control Mistakes
How can I tell paper wasps from yellowjackets fast?
Paper wasps are longer and slimmer and build open combs under eaves. Yellowjackets are stockier and disappear into cracks or soil holes. Watch flight paths for a minute at dusk: into a hole suggests a void or ground colony, which calls for professional treatment.
Why did wasps appear indoors after I sealed a gap outside?
Sealing a live entry traps workers, which then seek other exits through soffits, vents, wiring chases, or drywall seams. Verify elimination first by confirming zero traffic at dawn and dusk for 48–72 hours, then seal. If they’re already indoors, pause and contact a professional.
Is DIY ever okay for wasp nests?
Only for small, fully exposed paper wasp combs and only at low light. Keep distance, use protective gear, and plan a retreat path. If activity leads into a wall, roof, or the ground—or if the nest is large—skip DIY and book a professional assessment.
Do outdoor projects make wasp problems flare up?
Yes. Digging, setting posts, or moving timbers can disturb concealed ground nests. Plan checks at dusk before work, cordon off activity zones, and schedule treatment ahead of digging so crews, kids, and pets aren’t exposed.
What does Bugman Plus’s wasp control service include?
Inspection and species confirmation, mapping of entry points, dusk scheduling, targeted delivery (dust/foam/contact), a 48–72 hour follow-up to verify elimination, and exclusion to prevent re-use. Interior treatments are supported by our service guarantee.
Key takeaways
- Species ID drives the plan; void or ground colonies are not DIY projects.
- Treat at low light, then verify for 48–72 hours before sealing anything.
- Use the right formulation for the nest location; surface sprays don’t fix voids.
- Expect multiple colonies on one property; scan decks, sheds, and fence lines.
- If wasps vanish into a crack, stop. Call a pro before it shifts indoors.
About the author: Joe Barrett is the founder of Bugman Plus in Oshawa. His team provides wasp control and nest removal alongside bed bug, cockroach, ant, rodent, and other residential pest services, with interior programs backed by a service guarantee.


