
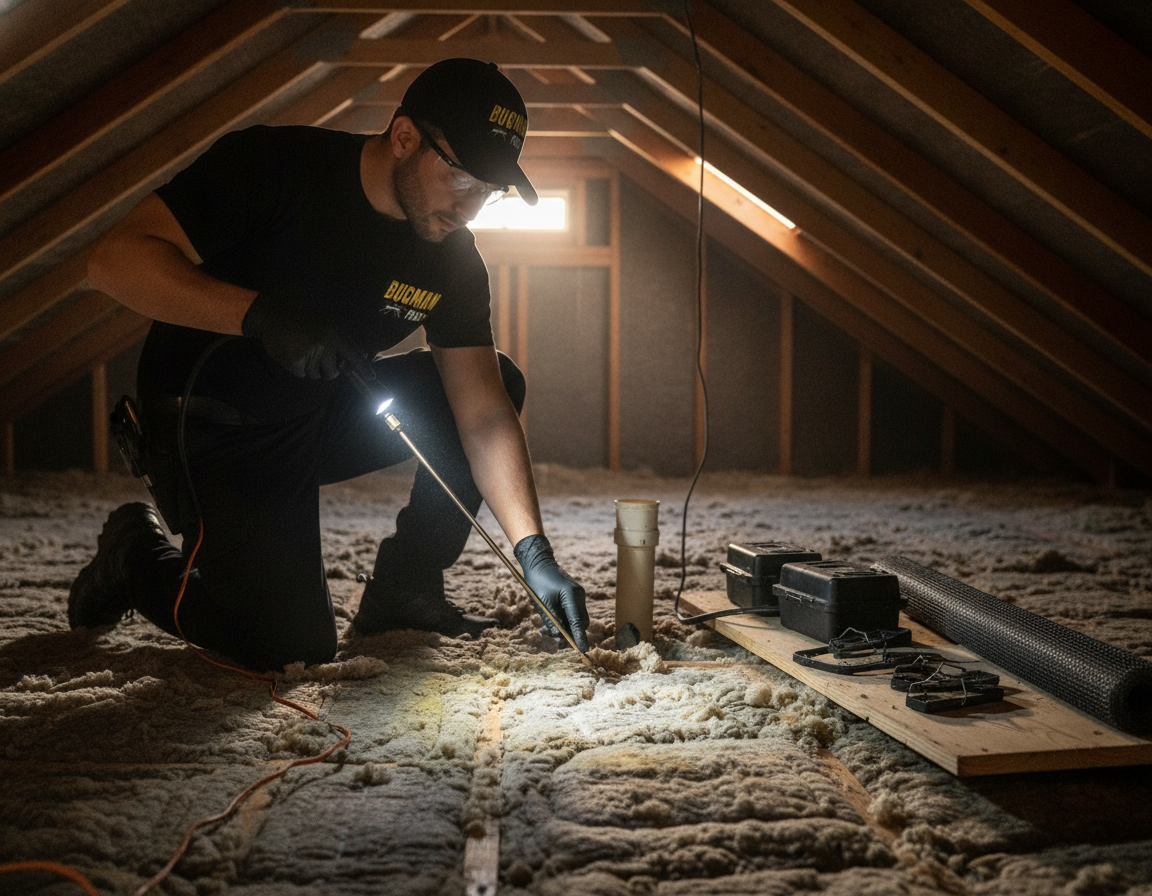
The rodent removal process is a structured sequence of inspection, exclusion (sealing entry points), targeted trapping, sanitation, and follow-up verification to eliminate mice and rats. It documents activity, fixes access routes, removes the population, and confirms results with monitoring. In Eastdale homes, this proven workflow protects wiring, food, and health while preventing re-infestation.
By Krunal Agarwal — Bugman Plus
Last updated: 2026-06-29
Overview and Table of Contents
Rodent removal works best when it follows a clear plan: assess, seal, trap, sanitize, and verify. This guide explains each step, what homeowners can do, and how Bugman Plus approaches professional rodent control so you regain peace of mind and keep rodents out for good.
If you’re losing sleep over scratching in the walls, you’re not alone. As a local provider serving Eastdale-area homeowners, Bugman Plus helps families “win the war on pests” with research-driven methods and a warranty-backed approach for interior programs. Here’s how this complete guide is organized.
- What is the rodent removal process?
- Why rodent removal matters
- How the rodent removal process works (step-by-step)
- Types, methods, and approaches
- Best practices for homeowners
- Tools and resources
- Case studies and local examples
- FAQ
- Conclusion and key takeaways
Quick Summary
The fastest path to a rodent-free home is a repeatable framework: diagnose entry points, exclude them, remove the current population, clean and sanitize, and confirm results with monitoring. Done together, these steps reduce re-entry risk and keep food, wiring, and insulation protected.
Think of the process as cause-and-effect. Entry points let rodents in; food and shelter keep them there. Fix the openings, cut off incentives, and remove the animals humanely. Then verify. That’s the heart of a strong rodent removal process, and it’s how professionals structure long-lasting outcomes.
What Is the Rodent Removal Process?
The rodent removal process is a systematic plan to eliminate mice and rats from a property by diagnosing entry points, sealing access, removing active rodents, and confirming results with monitoring. It blends inspection, exclusion, trapping, sanitation, and verification to prevent future infestations.
At Bugman Plus, “process” means repeatable steps you can trust: we inspect, we document activity, we close gaps, we deploy targeted controls, and we confirm progress. This isn’t a one-and-done trap placement. It’s a workflow designed to solve the problem at the source and keep it solved.
Core components
- Inspection and mapping: Identify droppings, gnaw marks, rub trails, runways, nests, and food sources.
- Exclusion: Seal gaps as small as 1/4 inch for mice and 1/2 inch for rats; harden vulnerable areas.
- Population reduction: Use targeted, humane trapping protocols sized to activity levels.
- Sanitation and harborage reduction: Remove attractants, declutter, and clean with safe methods.
- Verification and monitoring: Check devices, reset where needed, and confirm zero new activity.
Each step supports the next. For example, thorough exclusion makes every trap more effective and shortens timelines. In our experience with Eastdale households, homes that seal priority gaps early often see quicker declines in activity and fewer follow-ups overall.
Why Rodent Removal Matters
Rodents damage wiring and insulation, contaminate food and surfaces, and can spread disease organisms. A complete, documented removal process protects your home’s structure, reduces health risks, and prevents repeat infestations through proven exclusion and monitoring.
Here’s the thing: rodents aren’t just a nuisance. They chew to keep teeth short, which can nick appliance cords and low-voltage lines hidden behind walls. They also leave droppings and urine trails that mark territory. Left unchecked, the population grows quickly—especially if they have steady access to food and warmth.
- Electrical and fire risk: Gnawing on wires increases short-circuit risk; insulation damage reduces energy efficiency.
- Food safety: Unsealed pantry items and pet food attract nightly foraging.
- Health and hygiene: Droppings and nesting materials contaminate surfaces; proper cleanup matters.
- Property value: Documented remediation and monitoring demonstrate control and care.
When we deploy a professional rodent removal process, we aim to cut off the three essentials rodents need—access, food, shelter—so the home becomes inhospitable. That’s what leads to durable results and, ultimately, better sleep.
How the Rodent Removal Process Works (Step-by-Step)
Effective rodent removal follows five phases: assess activity, seal entry points, reduce the population with targeted trapping, sanitize and declutter, and verify with follow-up checks. This sequence tackles both the cause (access) and the effect (active rodents) for long-term control.
Below is a practical, technician-style breakdown of what to expect when you work with a professional team like Bugman Plus. We’ll also note simple pre- and post-visit actions you can take to accelerate results at home.
- Assess and document
- Walk exterior and interior for droppings, rub marks, runways in insulation, and gnawing.
- Probe common access points: utility penetrations, door sweeps, foundation cracks, soffits, and vents.
- Sketch a simple map to mark hotspots and plan exclusion and device placement.
- Prioritize exclusion
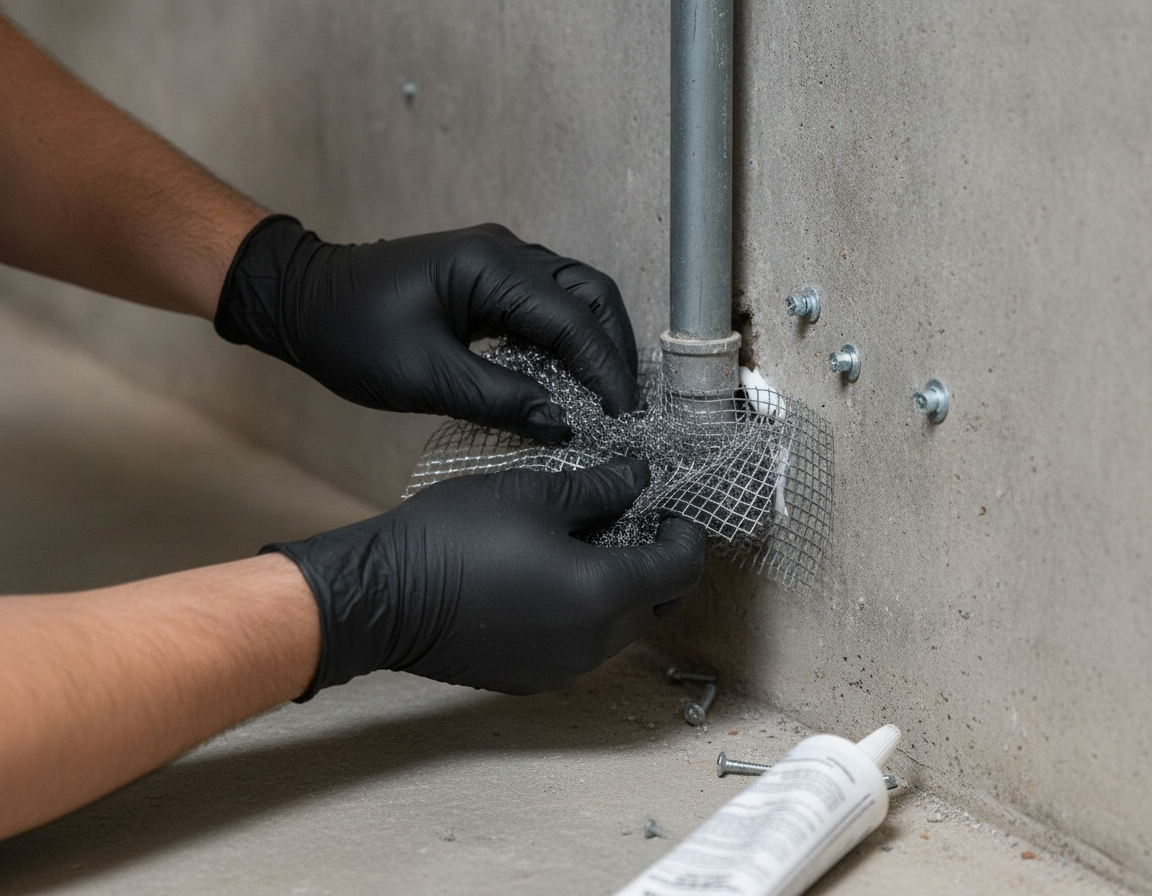
- Seal 1/4-inch-and-larger gaps with rodent-proof materials (metal mesh, steel wool backer, sealant).
- Reinforce vulnerable edges: garage doors, basement windows, dryer and furnace vents.
- Fit tight-fitting sweeps and weatherstripping on exterior doors.
- Deploy targeted trapping
- Place appropriately sized traps along runways, near wall edges, and behind appliances.
- Space devices every 6–10 feet in active corridors to match activity density.
- Record device count and locations for consistent follow-up.
- Sanitize and reduce harborage
- Store dry goods in sealed containers; elevate items off floors in basements and garages.
- Fix moisture issues (leaks, condensation) that drive foraging and nesting.
- Clean droppings safely using protective gear; avoid sweeping that aerosolizes dust.
- Verify and follow up
- Re-inspect devices and hotspots after 7–14 days; reset and adjust placements.
- Confirm no new droppings, rub marks, or gnawing; continue monitoring 2–4 weeks.
- Document closure so you have a clear before-and-after record.
| Phase | Primary Goal | Performed By | Typical Tools |
|---|---|---|---|
| Assessment | Locate activity and entry points | Technician + homeowner | Flashlight, mirror, camera, inspection forms |
| Exclusion | Block access permanently | Technician | Metal mesh, sealant, door sweeps |
| Trapping | Remove active rodents | Technician | Traps sized to species, monitoring stations |
| Sanitation | Eliminate attractants | Homeowner + technician guidance | Sealed bins, PPE, safe cleaners |
| Verification | Confirm success and prevent return | Technician | Checklists, photos, follow-up schedule |
Want a professional to run point on every step? Explore our rodent control service and how we pair methodical exclusion with monitoring for durable results.
Types, Methods, and Approaches
Professionals combine inspection-led exclusion with targeted trapping and sanitation, often called Integrated Pest Management (IPM). The emphasis is on sealing access first, then removing activity with right-sized devices and safe cleanup to break the cycle for good.
Every home is different, but the building science is the same: if a mouse can find a 1/4-inch gap and food within 20–30 feet, activity persists. Below are common methods we choose from based on your layout, family needs, and activity levels.
Exclusion materials and techniques
- Metal mesh and steel wool backers: Pack, then seal with construction-grade products.
- Door sweeps and weatherstripping: Close light gaps under and around doors.
- Vent protection: Fit rodent-proof covers on dryer and furnace vents without restricting airflow.
- Foundation and siding repairs: Address cracks, warped trim, and soffit returns.
Targeted trapping done right
- Placement: Along walls, behind appliances, at runway pinch points.
- Density: Match number of traps to activity; too few slows progress.
- Documentation: Number devices and log locations; consistency speeds follow-up.
Sanitation and habitat reduction
- Food control: Seal dry goods; empty pet bowls overnight; cap trash tightly.
- Clutter: Elevate storage; create 2–3 inches of clearance along baseboards for monitoring.
- Moisture: Fix leaks and condensation—rodents favor humid microclimates.
We practice an IPM-first approach because it’s both humane and durable. It respects your living space, limits unnecessary products indoors, and aims for structural fixes that keep paying off months and years after the last follow-up.
Best Practices for Homeowners
Homeowners accelerate results by prepping access, storing food in sealed containers, keeping baseboards clear for monitoring, and reporting new activity quickly. Small, consistent habits help ensure the professional plan succeeds and stays on track.
Simple actions compound. When you tighten routines while we seal and trap, timelines shorten. Here’s a homeowner checklist that pairs with a professional rodent removal process:
- Before service
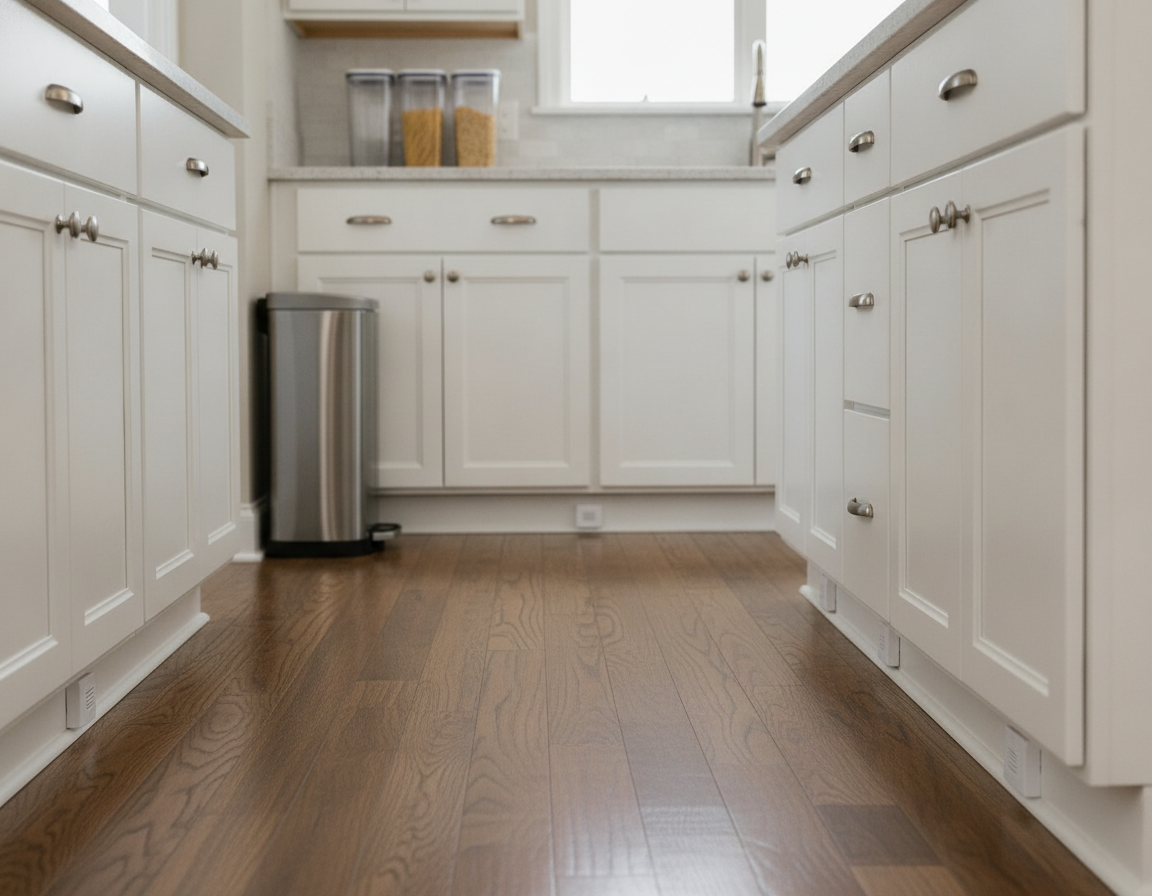
- Clear 2–3 inches along baseboards to allow discreet station placement.
- Empty under-sink cabinets and clear beneath the stove and fridge.
- Relocate pet food to sealed bins; remove bowls overnight.
- Between visits
- Wipe crumbs daily; bag and cap trash fully.
- Note any new droppings, sounds, or gnawing and share with your tech.
- Check for fresh daylight showing under exterior doors; report gaps.
- After resolution
- Keep seasonal storage off floors; rotate items to spot issues early.
- Inspect utility penetrations after contractor work (new cables, AC lines).
- Schedule seasonal exterior checks, especially ahead of cold snaps.
If you prefer a team to coordinate everything end-to-end, our Get a Quote page makes it easy to start. We’re a local Oshawa-based provider focused on quality you can feel—backed by a warranty for interior treatment programs.
Tools and Resources
Professionals rely on inspection tools, exclusion materials, and purpose-built devices to deliver results. Homeowners can support the plan with sealed food bins, door sweeps, and consistent cleanup—plus reliable reading on safe cleaning and product stewardship.
Useful items we deploy or recommend include:
- Inspection: high-lumen flashlight, flexible mirror, camera, and checklists.
- Exclusion: metal mesh, steel wool backers, construction adhesive, and weatherstripping.
- Devices: appropriately sized traps and discreet monitoring stations.
- Sanitation: sealed bins, nitrile gloves, masks, and non-bleach cleaners for sensitive surfaces.
For broader context on safe cleaning habits during remediation, see this practical cleaning hazards guide. If you’re curious about how chemicals are evaluated for safety in consumer contexts, this overview of testing practices offers background. For general pest-related health information, this public health explainer provides a simple starting point.
Case Studies and Local Examples
Lasting outcomes come from coupling airtight exclusion with right-sized trapping and follow-up. In our Eastdale work, homes that close 1/4-inch gaps promptly and maintain sealed food storage typically see activity drop within the first two follow-up cycles.
Eastdale semi-detached: winter ingress
A family near Easton Park called about scratching overnight and droppings in the pantry. Our inspection mapped utility gaps around the kitchen plumbing and a daylight gap under the rear entry door. We sealed those openings, installed door sweeps, set devices along baseboards, and guided the family on sealed storage. Within two checks, no new droppings appeared and noise ceased.
Attic runways in a 1960s bungalow
Close to Woodview Park, an older bungalow had disturbed attic insulation and rub trails along joists. We located soffit and roofline penetrations, screened vents with rodent-proof covers, and tightened garage weatherstripping. After trapping in attic runways and sanitizing, monitoring stations remained clear in subsequent visits.
Basement utility penetrations after renovation
Post-reno, a homeowner noticed gnawing near a new cable line. The installer had left a pencil-width gap where the line entered the rim joist. We packed mesh and sealed the opening, added a discrete station in the utility room, and coached the family to keep pet food sealed overnight. Follow-up confirmed resolution.
Local considerations for Eastdale
- Seasonal shifts near open green spaces (e.g., Easton Park) can drive fall ingress; prioritize door sweeps before the first cold snap.
- Snow melt reveals foundation gaps; walk the perimeter in early spring to spot cracks and warped trim.
- After contractors run new lines, re-check utility penetrations right away; a 1/4-inch opening is enough for a mouse.
Want the same structured approach for your home? Learn how we work on our About Bugman Plus page, then contact our team to schedule.
Free, no-pressure next step: Tell us what you’re seeing, where, and when. We’ll outline a plan that fits your layout and routine. Start here: Request a quote.
Frequently Asked Questions
Most homeowners ask how long removal takes, whether they need to leave, what they should do before a visit, and how to prevent a return. Here are clear, direct answers drawn from our day-to-day work in Eastdale homes.
How long does a typical rodent removal process take?
Most homes see strong progress in 2–4 weeks when exclusion is completed early and devices are checked on schedule. Activity timelines vary by entry severity, food availability, and layout. Your technician will set expectations after the first inspection.
Do I need to leave the house during service?
Not usually. For most inspection, exclusion, and trapping work, you can remain at home. If any area needs temporary closure during sanitation or sealing, we’ll coordinate a convenient time and explain simple safety steps.
What should I do before my first appointment?
Clear a few inches along baseboards, empty under-sink cabinets, and move items from behind the stove and fridge. Store dry foods and pet kibble in sealed containers. Jot down where you’ve seen droppings or heard sounds—those notes help us focus.
How do I prevent rodents from coming back?
Keep door sweeps tight, seal new utility penetrations immediately, and maintain sealed food storage. Plan seasonal exterior checks, especially ahead of winter. We’ll recommend a simple monitoring cadence suited to your layout and routine.
Will you guarantee the results?
Bugman Plus backs interior treatment programs with a warranty. We pair that with detailed documentation and follow-ups so you have confidence the problem is solved and stays solved. Ask our team how the warranty applies to your situation.
Conclusion and Key Takeaways
A successful rodent removal process fixes access, removes the population, and verifies results. When homeowners and pros work from the same plan, timelines shorten and results last. The combination of exclusion, trapping, sanitation, and monitoring is what keeps homes rodent-free.
- Focus on causes: Seal 1/4-inch gaps and tighten doors and vents first.
- Match tactics to activity: Use enough devices in the right places and log everything.
- Keep incentives low: Store food sealed, control moisture, and reduce clutter.
- Verify results: Plan follow-ups over 2–4 weeks until activity is zero.
Ready to reclaim your home? Visit the Bugman Plus home page to explore services, read about our approach, and request a quote. We respect your privacy—see our privacy policy—and we’ll only use your info to plan service.


