
Intro: how to use this local pest inspection checklist
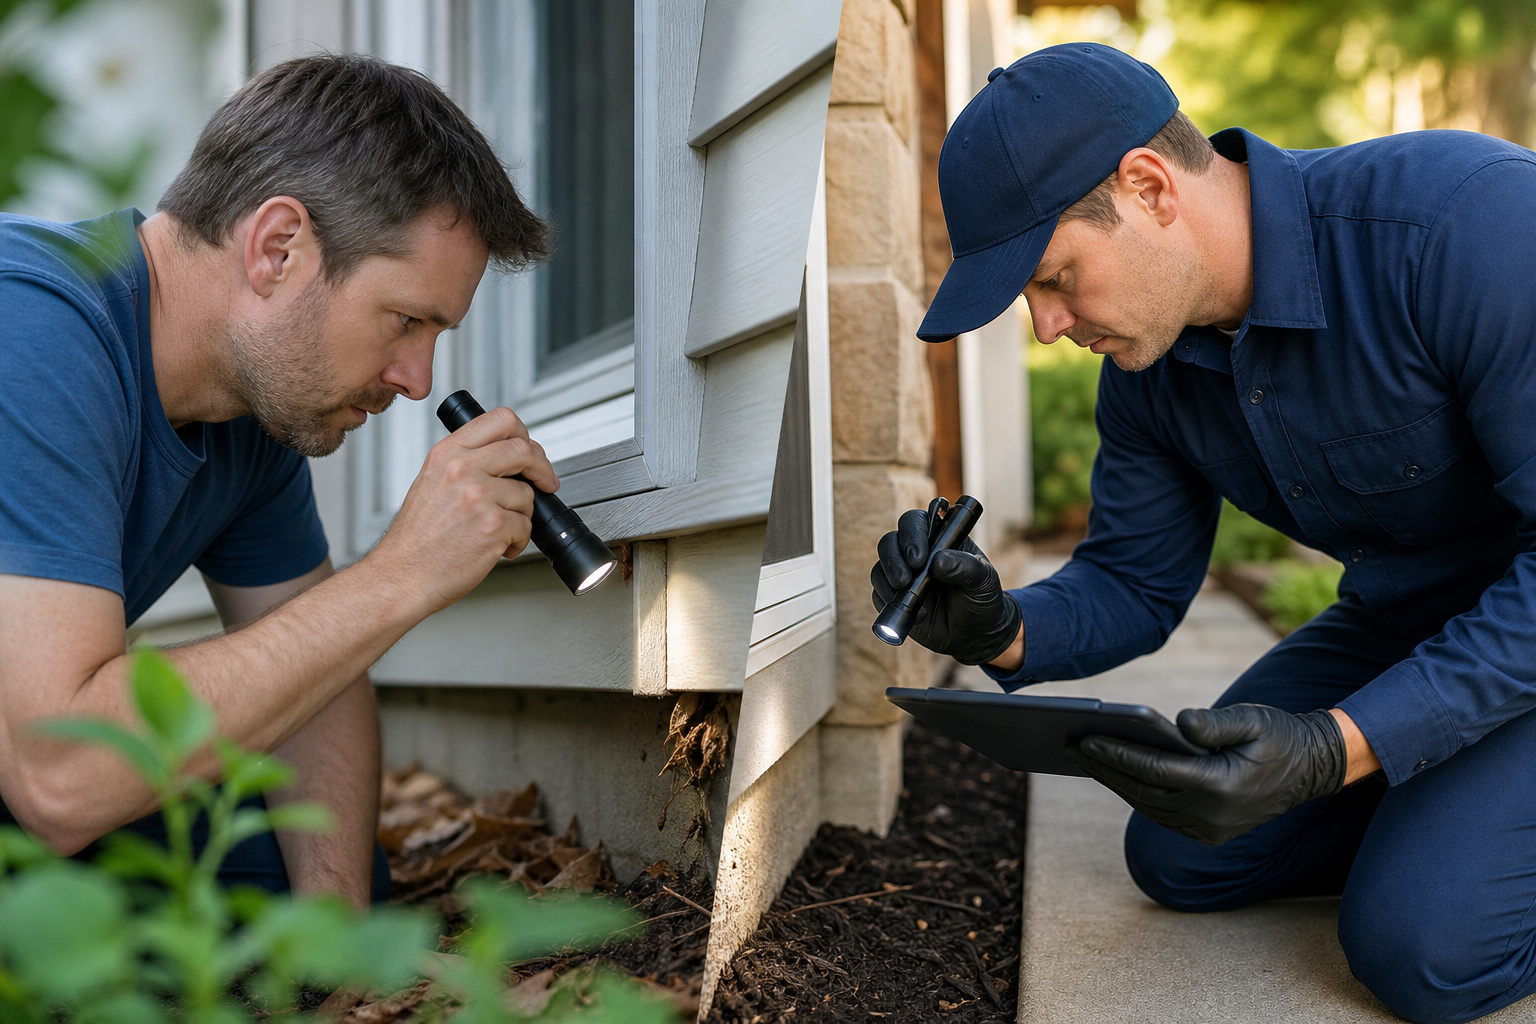
This local pest inspection checklist is written for Oshawa homeowners, tenants, landlords and small property managers who need seven clear inspection items that are easy to perform, document and compare against professional action. Start with the exterior and work inward. Capture both positive and negative findings with dated photos and short notes so you can get an accurate quote quickly. For related first-party details, review home pest inspection checklist.
Use the checklist to decide whether to handle a problem yourself or call a licensed company that offers warranty-backed interior treatments. The ordered approach—exterior first, then the building envelope, then interior rooms—follows Canadian inspection best practice for detecting infestations: inspect from the grounds up and from the lowest level to the attic to identify environmental conditions that favour pests (Canada.ca).
1. Exterior perimeter and grounds
Look for: piles of debris, unkempt wood or compost heaps, overflowing or uncovered garbage bins, bird activity near vents, visible nests and rodent burrows near foundations. Canadian preventive checklists emphasise clearing debris and keeping garbage containers covered to reduce attraction for rodents and insects (BSEO).
Severity cues
- Low: one isolated nest or a single burrow with no fresh droppings.
- Medium: multiple burrows, active ant trails to bins, or repeated bird activity near vents.
- High: visible large wasp or hornet nest within reach, clusters of active burrows, or grease trails indicating rodent travel routes.
DIY fixes
- Remove debris, trim vegetation that contacts siding, store firewood elevated off the ground, and clean and secure garbage containers.
- Move compost away from foundations and maintain a tidy edge between planting beds and the house.
Safety cautions
Do not disturb active wasp or hornet nests. Keep children and pets away from active burrows. If you must approach, wear protective clothing and keep a clear exit path.
When to call a pro
Call a professional if you find accessible active nests, repeated rodent burrowing near foundations or persistent bird roosting that creates an entry risk. Professionals can assess structural corrections and apply exclusion treatments.
Documentation tips
- Photograph the perimeter from two distances: an overview and a close up with a timestamped phone image.
- Note the exact location (north or south side), the nearest door or window, and whether children or pets use the area.
2. Building envelope and entry points
Look for: gaps where utilities enter, cracked foundation, unsealed vents, missing door sweeps, torn window screens and gaps at eaves. A methodical inspection should prioritise exterior pressure points before interior zones and record both presence and absence of access points for a consistent report (PestPro).
Severity cues
- Low: small gaps under a single exterior door that can be fixed with a threshold or sweep.
- Medium: multiple window and vent gaps, damaged screens, or a foundation crack that admits light.
- High: large structural openings, collapsed soffits, or gaps that allow animals into crawlspaces or walls.
DIY fixes
- Install door sweeps, replace screens, apply silicone caulk to small gaps and fit vent covers.
- Use expandable foam for narrow gaps around pipes, then seal with exterior-grade caulk for permanence.
Safety cautions
Avoid stuffing insulation into large openings; that can trap animals inside walls. For structural defects, do not attempt major repairs without a professional assessment.
When to call a pro
Call a professional when openings are large enough for rodents or raccoons, when entry allows pests into living spaces or HVAC ducts, or when repairs need carpentry that affects the building envelope.
Documentation tips
- Photograph each gap with a ruler or coin for scale and note whether light is visible through the opening.
- Record where utilities enter the home and the type of seal currently installed.
3. Kitchens and food storage areas
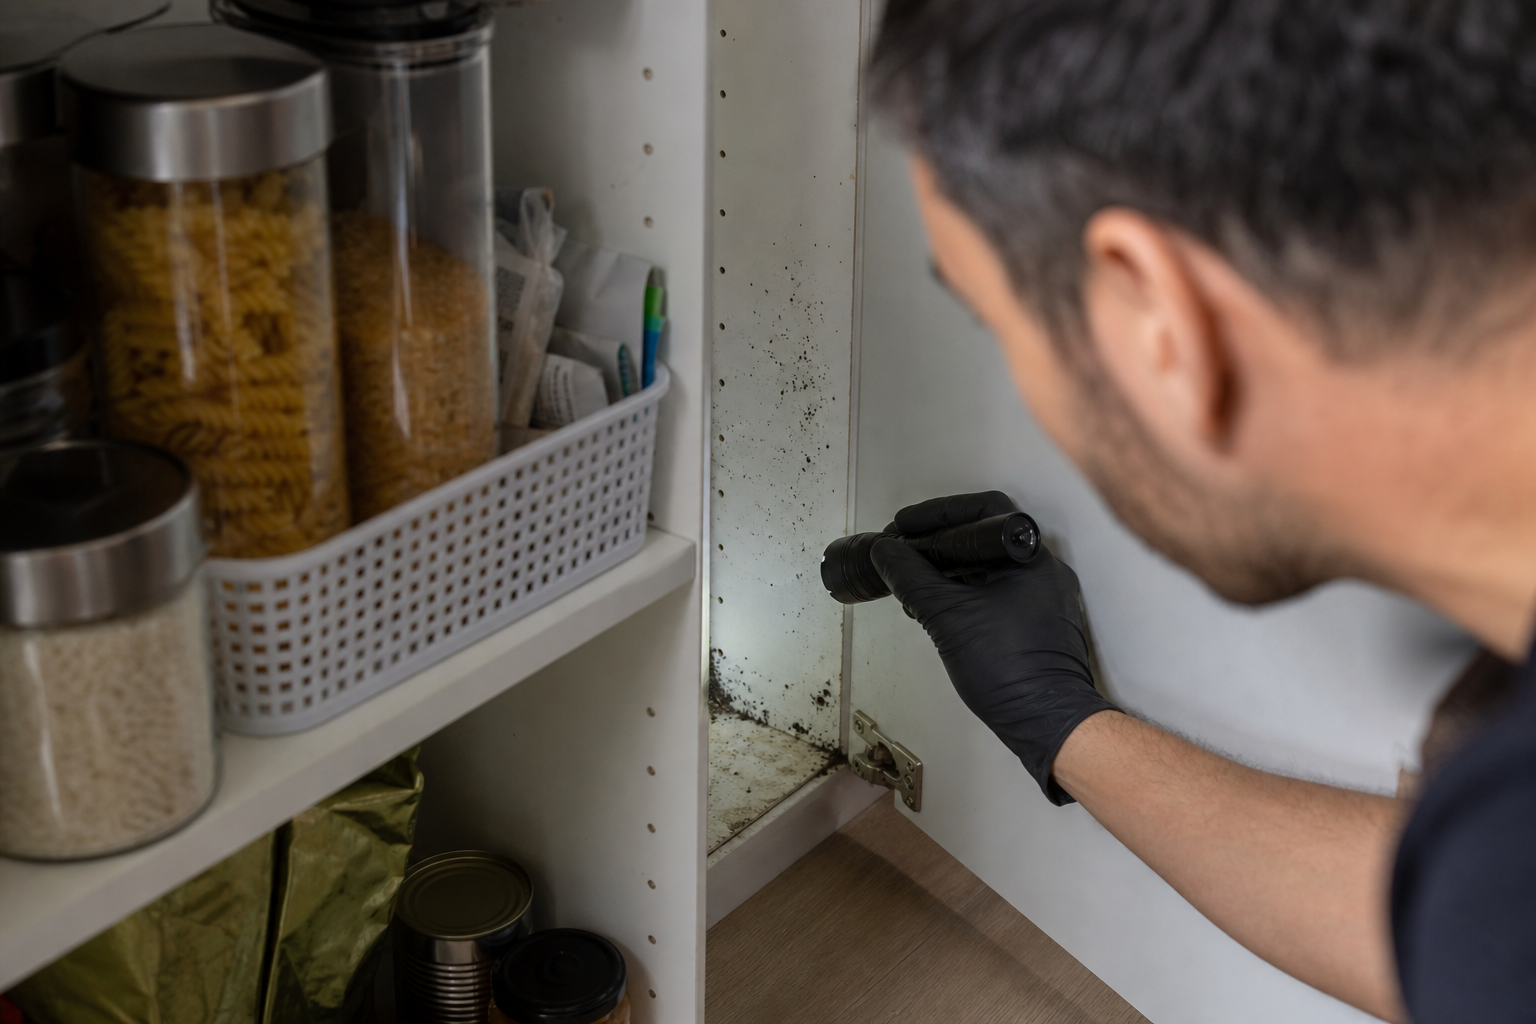
Look for: cockroach droppings or smear marks, ant trails to sweet or greasy sources, chewed or torn packaging, grease build-up behind appliances and droppings near pantry items. Commercial inspection templates place food areas as a top priority because they directly affect pest harbourage and food safety (Miratag).
Severity cues
- Low: one sighting of a single ant trail that disappears when the source is cleaned.
- Medium: droppings behind appliances, active cockroaches at night or chewed packaging.
- High: recurring live insects, multiple active cockroach harbourages or rodent droppings in cupboards.
DIY fixes
- Deep clean behind and under appliances, store food in sealed containers, remove crumbs and grease and repair damaged packaging.
- Set bait stations for ants or cockroaches in inaccessible areas and replace them per label instructions.
Safety cautions
Follow label directions on any insecticide, keep baits away from children and pets and avoid spraying open food or surfaces used for food preparation.
When to call a pro
Call a professional for persistent cockroach activity, rodent evidence in food storage or when infestations reappear despite sanitation. A pro can locate harbourages and apply targeted treatments safely.
Documentation tips
- Photograph droppings, chew marks and live insects with a close-up and a context shot showing the appliance or cabinet they were found in.
- List when and where you last cleaned, and whether pets share the food storage area.
4. Bedrooms, beds and sleeping areas (bed bugs)
Look for: small dark faecal specks on mattress seams or baseboards, rust-coloured blood spots on sheets, shed skins or ova and live bed bugs in mattress tufts or headboards. Sleeping areas are a separate high-risk zone because evidence there usually requires professional interior treatment (PestPro).
Severity cues
- Low: isolated dark spots or a single shed skin with no live bugs seen.
- Medium: repeated spots, multiple shed skins or live bugs in seams.
- High: live bugs in multiple locations, bites on multiple occupants or spread to adjacent furniture.
DIY fixes
- Encase mattresses and box springs in approved encasements, launder bedding in hot water and dry on high heat, and declutter the immediate area.
- Use portable steamers on mattress seams only if you are trained to maintain safe temperatures and avoid damage.
Safety cautions
Do not use homeowner fumigants or place treated items in shared laundry without notifying operators. Live bugs or multiple positive sites are typically beyond safe DIY eradication.
When to call a pro
Call a professional when you find live bed bugs, multiple positive sites or bites on household members. Local companies offering interior treatments and a three-month warranty can be the right choice for confirmed infestations (Bugman Plus).
Documentation tips
- Take close-up photos of faecal specks, shed skins and any live insects from multiple angles. Note the mattress brand, bed location and whether the bed is near a wall or other furniture.
- Keep a short timeline of when bites or sightings began and who uses the bed.
5. Basements, crawlspaces and attics
Look for: rodent droppings, gnaw marks on wiring or insulation, disturbed insulation, grease rub marks on joists and concentrated spider webbing. These zones commonly show nesting pests and travel routes.
Severity cues
- Low: old droppings with no fresh pellets and minor spider webbing.
- Medium: fresh droppings, gnaw marks on soft materials or insulation displacement.
- High: live animals heard at night, nests inside insulation or droppings in multiple rooms suggesting internal movement.
DIY fixes
- Wear PPE such as gloves and a mask when inspecting, clean up small amounts of droppings per public health guidance, and seal small entry points.
- Store materials off the floor and keep the area dry to reduce nesting appeal.
Safety cautions
Rodent droppings can carry pathogens. Use gloves and a mask, avoid sweeping dry droppings and disinfect surfaces after wetting before cleanup.
When to call a pro
Call a professional when you detect nests inside walls, signs of large rodent populations, chewed wiring or animal activity in HVAC. Professionals can remove nests safely and perform exclusion and repair work (Miratag).
Documentation tips
- Photograph droppings next to a ruler, record smell or noise and note which rooms share the same joist or duct runs.
6. Exterior structures, eaves and gardens (wasps and nests)
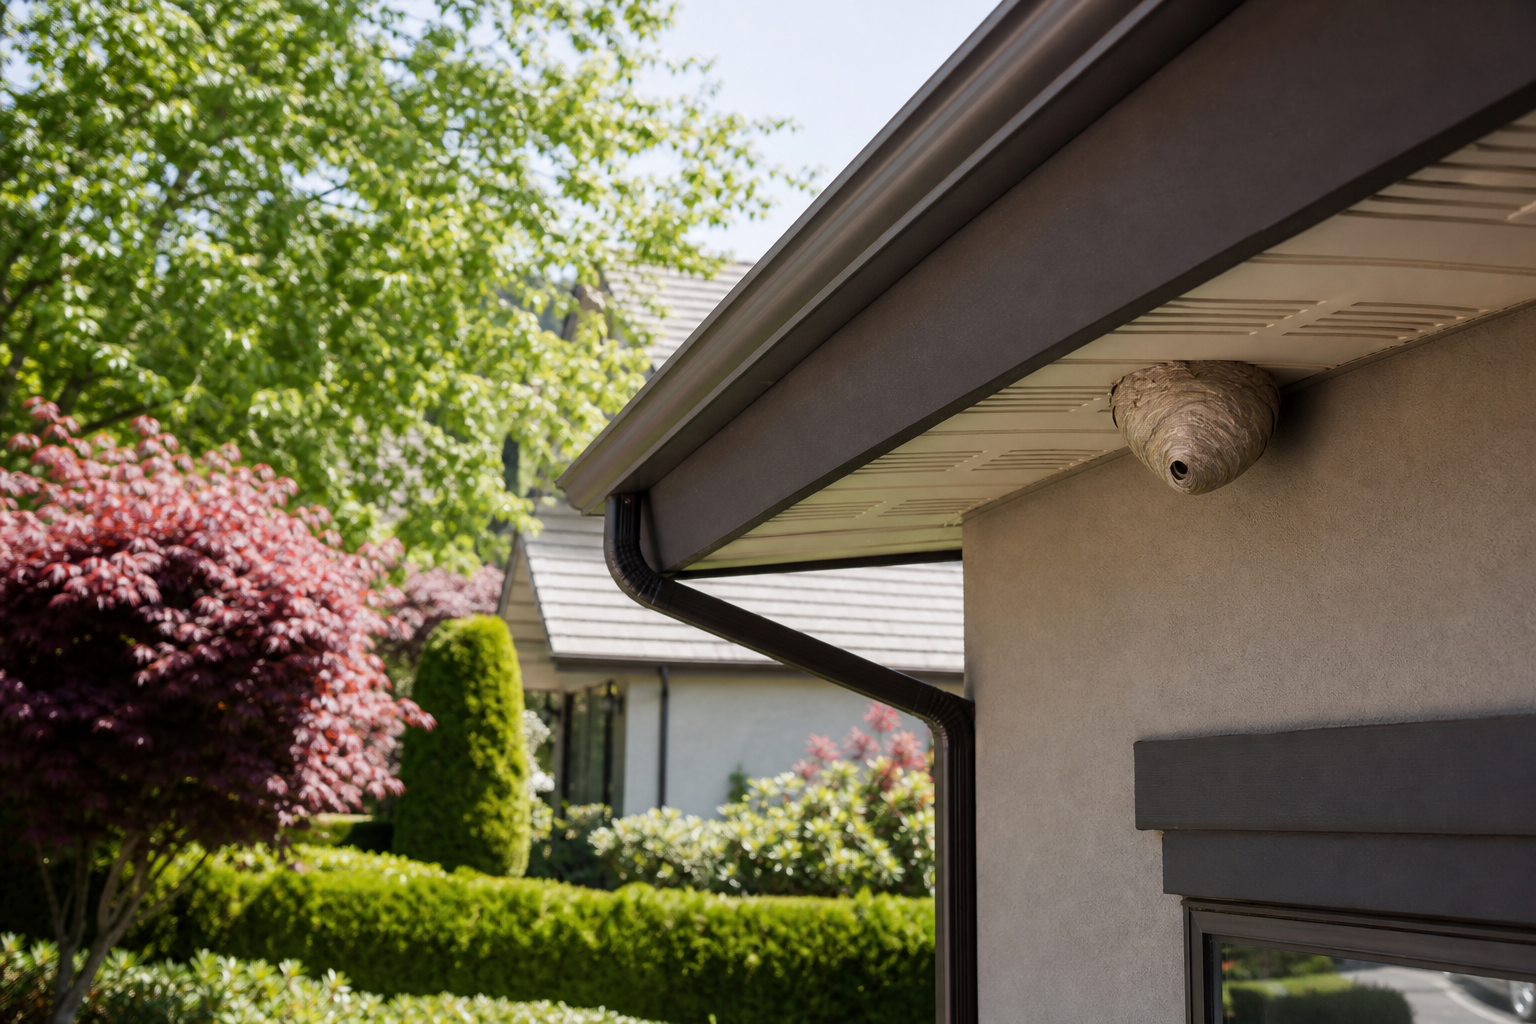
Look for: nests under eaves, inside soffits, in sheds or in garden furniture. Note insect activity around the nest and whether the nest is in a place people regularly use. Facility checklists treat eaves and exterior structures as high-priority zones because nests there are common and can be hazardous (POPProbe).
Severity cues
- Low: small abandoned nest with no nearby activity.
- Medium: visible wasp traffic but nest in a low-use area.
- High: active nest near doors, decks or play areas, or when inhabitants are allergic to stings.
DIY fixes
- Secure the area, keep people and pets away, and delay any approach until you can confirm the nest is inactive.
Safety cautions
Do not attempt to knock down active nests. Disturbing an active nest can provoke many stings and is unsafe for untrained people.
When to call a pro
Call a professional immediately for active nests that are accessible to occupants, are inside walls or soffits or when anyone in the household is allergic. Professionals can remove nests safely and quickly; many local companies, including Bugman Plus, offer rapid response for wasp nest removal (Bugman Plus).
Documentation tips
- From a safe distance, photograph the nest and the path people take near it; note how often people use the area and whether children play nearby.
7. Documentation, decision criteria and when to call a professional
Good documentation speeds quotes and helps preserve warranty eligibility. Use a simple evidence log: photo, date, exact location, brief description and whether the sign was fresh or old. Field checklists recommend capturing both positive and negative findings for consistent documentation (PestPro).
Evidence log template
- Date: __________
- Photo file name: __________
- Location: (e.g., north foundation, kitchen under sink)
- Description: (droppings, live insects, nest, chew marks)
- Severity: low / medium / high
Three decision criteria to call a pro
- Safety: risk of stings, bites or exposure to droppings or confined nests.
- Severity: multiple active sites, live pests or evidence of structural entry and internal spread.
- Access to treatments and warranty: when an interior treatment is needed and you want warranty-backed service; local providers like Bugman Plus offer a three-month warranty on interior treatment programs, which affects the value of calling a pro for confirmed infestations (Bugman Plus).
What to have ready when requesting a local quote
- Three to five dated photos (overview and close-up), the evidence log entry and a short timeline of sightings or bites.
- Notes about pets, children, allergies and any previous treatments performed.
- The exact address and preferred access times for an inspection visit.
Quick frequency and next steps
For most homeowners, perform this checklist seasonally and after major weather events. For higher-risk sites, inspect monthly; custodial-style templates used by institutions recommend monthly checks and 30-plus critical points in comprehensive templates (POPProbe). If you document high-severity signs, call a local pro without delay and provide the evidence log to speed an accurate quote and appropriate warranty-backed action.
Frequently asked questions
How often should I run a local pest inspection checklist around my Oshawa home?
Inspect the exterior and common entry points seasonally as a baseline, and inspect monthly if you have recurring problems or high pest pressure. Institutions often recommend monthly inspections for high-risk facilities (POPProbe).
Which inspection signs mean I should call a professional pest control company right away?
Call immediately for active wasp or hornet nests near living areas, live bed bugs or multiple positive bed bug sites, large rodent populations with nesting inside walls or chewed wiring, and persistent cockroach activity in food storage areas.
Can I safely remove a wasp or hornet nest myself or should I hire a pro in Oshawa?
Do not attempt to remove active nests yourself unless you are trained and equipped. For accessible, active nests—especially where people or pets are at risk—hire a professional who can remove the nest safely and prevent reoccupation.
What photos and information should I gather to speed up a quote and warranty work?
Provide dated photos (overview and close-up), the exact location, a short description and a timeline of sightings or bites. Note pets, allergies and prior treatments; this helps the technician provide the right remedy and determines warranty eligibility.
Does Bugman Plus include warranty coverage for interior treatments and how does that affect my decision to call a pro?
Bugman Plus offers a three-month warranty on all interior treatment programs. For pest problems that require interior treatments—such as confirmed bed bug infestations—using a warranty-backed local provider in Oshawa can reduce your long-term cost and risk compared with piecemeal DIY approaches (Bugman Plus).
Final takeaway
Follow the ordered checklist above, document findings clearly using the evidence log, and use the three decision criteria—safety, severity and warranty—to decide DIY action or call a professional. For confirmed interior infestations or high-risk nests, a local, warranty-backed company can provide rapid, safe and insured service.
Need help with an inspection or a quote? Contact Bugman Plus.


